CAME-Argo

Most cameras are designed with its tripod mounting hole positioned perfectly center along the bottom/base of the camera body.  However, there are a few cameras that have been designed with the mounting hole off-center, making it difficult to balance onto most gimbals.  (See below)
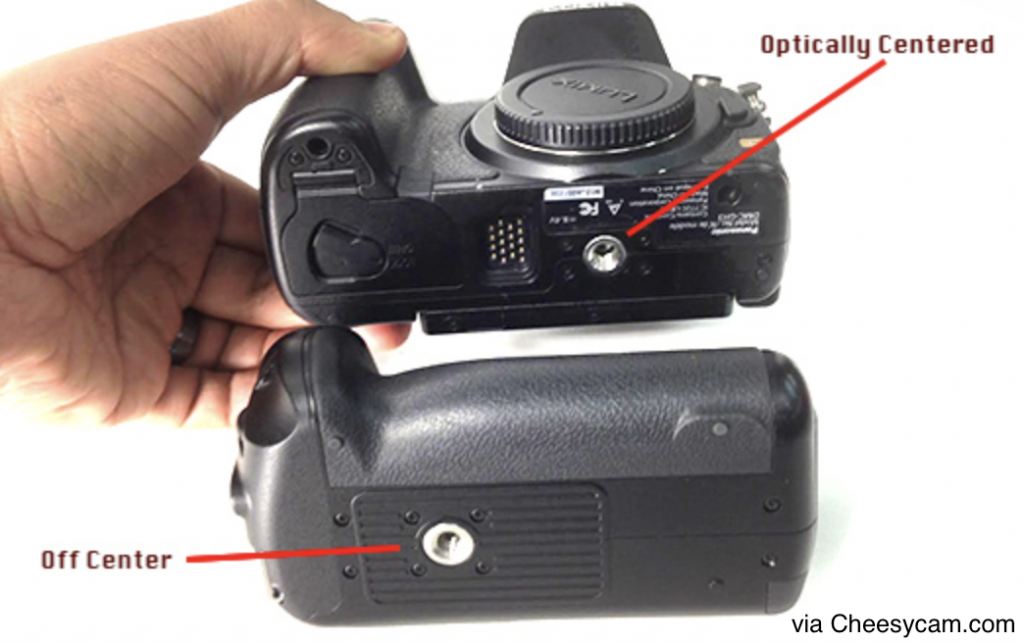
tripod mount positions

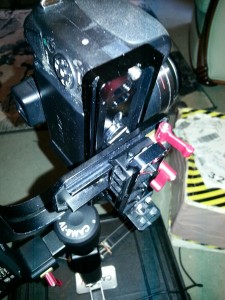
However, one useful solution to this problem is to use a PU-150 Benro/Arca Swiss style QR plate as an extension adapter plate to add more flexibility to your balancing options.

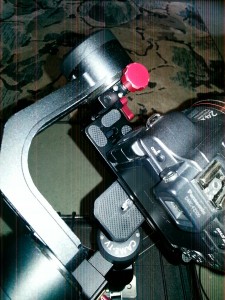
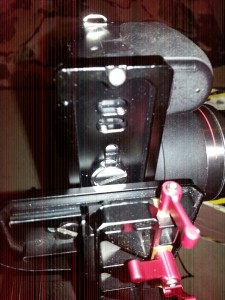
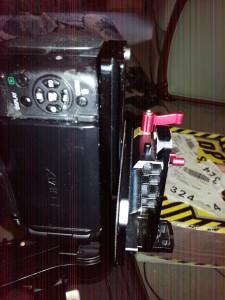
Below you can see some samples provided by customer Ray Roscoe in using the extender plate along with his camera while balancing it onto the CAME-Optimus gimbal. (Click images to enlarge)
20180227_161403_resized . 20180227_161415_resized

20180227_161428_resized . 20180227_161441_resized

Notes from user Ray Roscoe:
1. Remove the center stop screw so the camera can slide just that bit further.
2. There are 2 small allen screw sin the plate, one needs to be removed tow enable the extension plate a little more movement.

If you're in the market for a used gimbal, particularly from a private, non-commercial seller (ex: eBay),  there are several tips/precautions we advise before deciding to make the purchase.

1.  Contact the seller and ask for detailed pictures of their actual gimbal, not a promotional photo.  If there are any physical flaws on the gimbal (ex; scratches), it is best that you are made aware before making the purchase.

2.  Ask the seller to provide you with a current video showing the gimbal's working status.  It is common for users to make DIY modifications to the gimbal's physical state, or even alter the control board's programming (ex: to make joystick speeds faster).  Ask the seller if they've ever modified the gimbal in any way, or if it is experiencing any functionality problems.

3.  Secondhand/used purchases are NOT covered by our standard warranty.

4.  If the used gimbal you are interested in is an older model and is no longer available on our website, then contact CAME-TV to make sure they still have parts available for that particular gimbal.

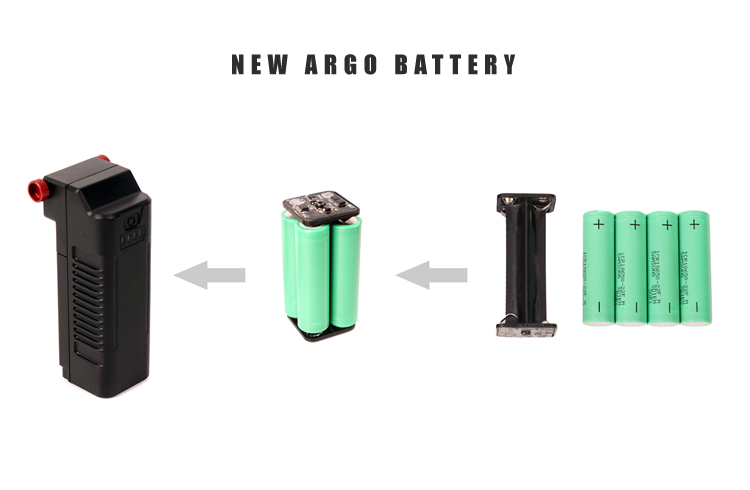
Owners of our CAME-Argo and Mini 3 might have noticed something different in each gimbal's battery configuration. We are now using a battery case that has 18650 LiPo batteries allowing you to remove them, charge them and immediately replace them with a backup set of fully charged 18650 LiPo batteries that you might have on standby. This allows you to keep cycling through numerous sets of batteries for an extended gimbal run time.

As with all LiPo batteries it is never good to over-discharge the battery. Over-discharge is when a battery cell voltage drops below the level of circuit protection limit. Once a LiPo battery is over-discharged, it is more than likely that it cannot be recharged and new one would have to be purchased.

We strongly recommend that when the gimbal is not in use or is in storage, to remove the 18650 LiPo batteries from the battery case. Failure to do so can result in over-discharge of the battery/batteries.

YouTube Reviewer MrCheesycam gives us a thorough breakdown of the updated battery packs in the video below:

We must first note that all CAME-TV gimbals are pre-programmed and quality-tested to function right out of the box. No additional software tuning or firmware upgrades should be necessary. However, if you would like to make minor tuning adjustments with the SimpleBGC software at your own accord- such as changing joystick speeds, decreasing motor power, etc. - we suggest that you first SAVE the gimbal's default, factory-programmed settings before making such changes.

Should something go wrong as you're making the changes, you can always revert back and load the original default profiles. And please note that the profiles that you save contain settings that are unique to your gimbal. Sharing these profiles with other gimbal owners is not advised and can make their gimbal inoperable.

And perhaps most importantly, under no circumstances do we advise upgrading your firmware. Doing so will wipe your settings and make your gimbal inoperable. The only way to potentially make it functional again would be to send it back to a CAME-TV support facility for repair (at your own cost if out of warranty).

[IMPORTANT NOTE:] Your saved Default Profile is configured to the default Firmware installed on your Gimbal. If you attempt to upgrade your firmware, the saved Default Profile will no longer be valid.

Printable instruction manuals for our most popular CAME-TV gimbals can be viewed and downloaded below:

 
CAME-Prophet Manual
 
CAME-Spry Manual
 
CAME-Prodigy Manual
 
CAME-Optimus Manual
 
CAME-Argo Manual
 
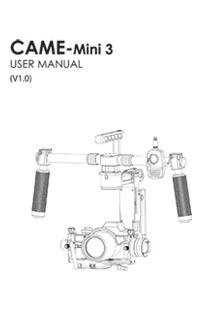
CAME-Mini 3 Manual
 
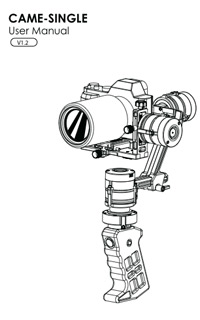
CAME-Single Manual

Below is a list of authorized versions of the SimpleBGC GUI software to use with our CAME-TV gimbals. Instructions for connection and use can be found here. If you are unsure of which version below is appropriate for your gimbal, click HERE.

2.63 b0 Currently available for the CAME-Prophet gimbal only. Contact us if needed.

2.60 b4 Currently available for CAME-Prodigy and newer CAME-Optimus models only. Contact us if needed.

2.56 b7
GUI (Windows, OS X, Linux): SimpleBGC_GUI_2_56b7.zip (8Mb 20.01.2016)
User Manual (English): SimpleBGC_32bit_manual_2_5x_eng.pdf (1Mb 29.06.2016)

2.55b3
GUI (Windows, OS X, Linux): SimpleBGC_GUI_2_55b3.zip (7.95Mb 17.02.2015)

2.50b3
GUI (Windows, OS X, Linux): SimpleBGC_GUI_2_50b3.zip (8Mb 14.04.2015)
User Manual (English): SimpleBGC_32bit_manual_2_50_eng.pdf (1Mb 6.05.2015)

2.43b9
GUI (Windows, OS X, Linux): SimpleBGC_GUI_2_43b9.zip (6Mb 14.04.2015)
User Manual (English): SimpleBGC_32bit_manual_2_43_eng.pdf (813Kb 8.12.2014)

If you are in need of 2.60 b4, contact us first.

SimpleBGC GUI software is developed and provided by BasecamElectronics.com.

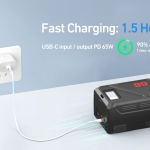
Customers of our newer gimbals may have noticed that the battery charger kits for the CAME-Argo and Mini 3 are slightly different from how they used to be. With this slight change, there is an updated process on how to properly charge your batteries for these gimbals. See the video below for a simple step-by-step breakdown.

The blue LED indicator lights on the battery itself will not blink as it is charging. However, you can press the button to see the progress of the charge.