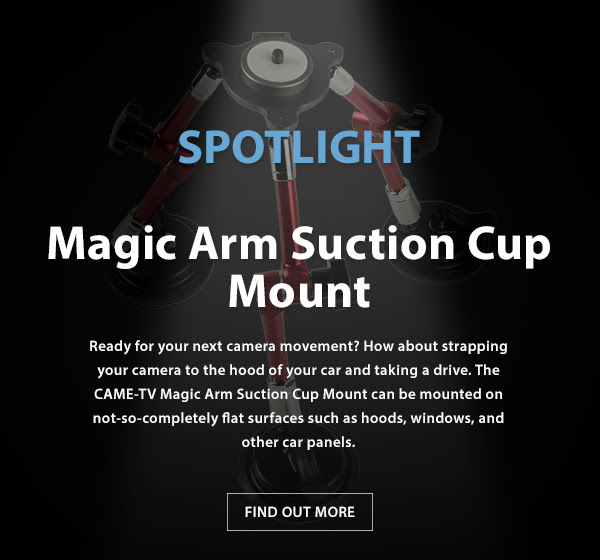
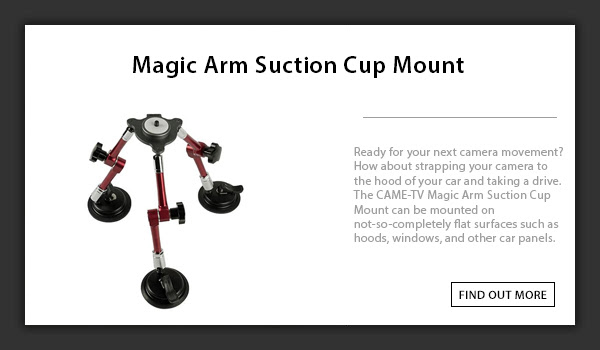
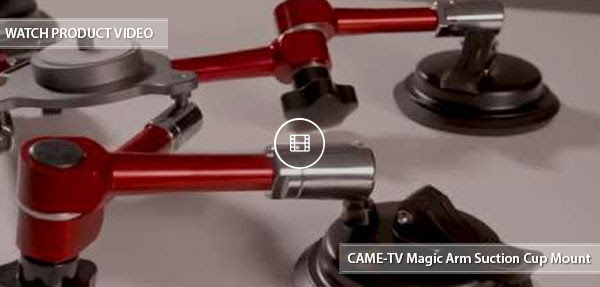
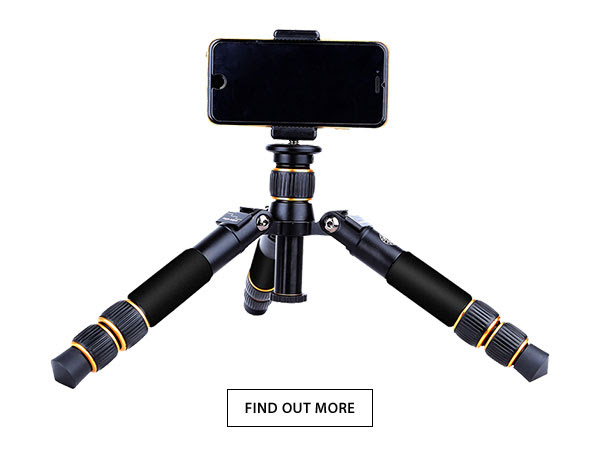
Under the CAME-TV umbrella, Mechrig has emerged as a specialized brand focused on photography and action camera rigging accessories—a modular system of mounts and components that allow creators to customize their filming setups like building with Legos. From cycling mounts to phone holders, car suction mounts, action camera rigs, and photography arms, Mechrig is committed to helping creators and professionals build the tools they need to bring their visions to life.

Why Partner with Mechrig?
Mechrig isn’t just another accessories manufacturer—we’re your partner in growth. Whether you're a content creator, startup brand, or established distributor, we offer OEM (Original Equipment Manufacturer), ODM (Original Design Manufacturer), and drop shipping services to help you launch or scale your own product line.

Here’s what sets us apart:
 No MOQ for Custom Branding
We make it easy to start. Custom logos are available with no minimum quantity requirements, perfect for influencers, small shops, or growing online stores looking to launch a branded product line without large upfront investments.
Global Fulfillment & Drop Shipping
With a worldwide logistics network and warehouse partnerships, we can handle direct-to-customer shipping on your behalf. You sell—we handle the rest.
Full OEM/ODM Support
Whether you need a simple logo on a mount or a fully custom-designed product built from the ground up, our engineering and manufacturing teams are ready to collaborate with you at every stage—from concept to prototype to mass production.
Proven Track Record in the Global Market
CAME-TV and Mechrig products are sold worldwide and trusted by thousands of filmmakers, production companies, and content creators. Our solutions have powered shoots from Hollywood sets to indie YouTube studios.
Trade Show Veteran
We’ve showcased our innovation at NAB Show (Las Vegas), IBC (Amsterdam), PhotoPlus (New York), and other major industry expos. Our presence at these events demonstrates our commitment to staying at the cutting edge and forging relationships across the industry.
One-Stop Solution for Video Pros
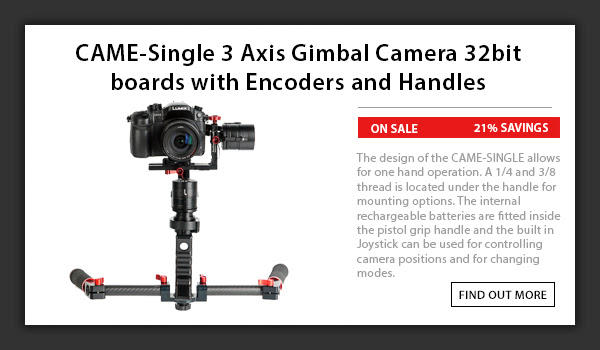
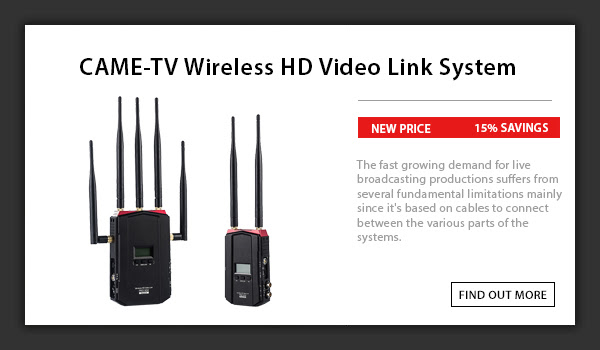
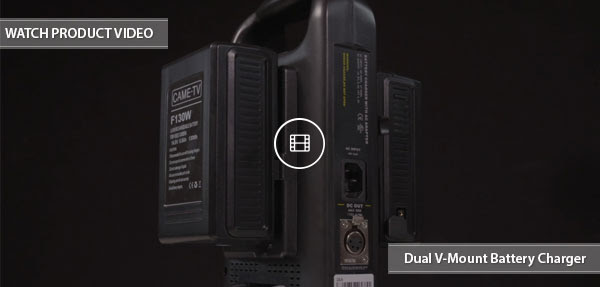
From power systems and wireless communication tools to mechanical rigs and mounting accessories, we provide a comprehensive ecosystem of tools that meet the evolving needs of today’s content creators.
Perfect For:
- Vloggers and influencers launching personal brands
- Online retailers expanding into photo/video gear
- Distributors looking for a trustworthy supplier with flexible options
- Creators with a unique product idea ready to be developed
Let’s Build Something Together
Whether you're looking to resell Mechrig products under your own brand, develop a unique accessory, or leverage our global drop shipping capabilities, we’re here to make it easy and cost-effective.
 Inquire now and start your OEM/ODM journey with Mechrig.
We speak your language—innovation, reliability, and quality.
About US:
Since 2012, CAME-TV has been at the forefront of innovation in the film and photography equipment industry. Known globally for its high-quality Full Duplex Wireless Intercoms, professional-grade batteries, and a diverse catalog of production tools, CAME-TV has earned a reputation for engineering excellence and responsive service.