
One of the standout features in our new line of Q-Series Boltzen lights is the strobe effect. For steps on how to enable/disable the strobe feature, you can refer to the video below.
Author Archives: r p


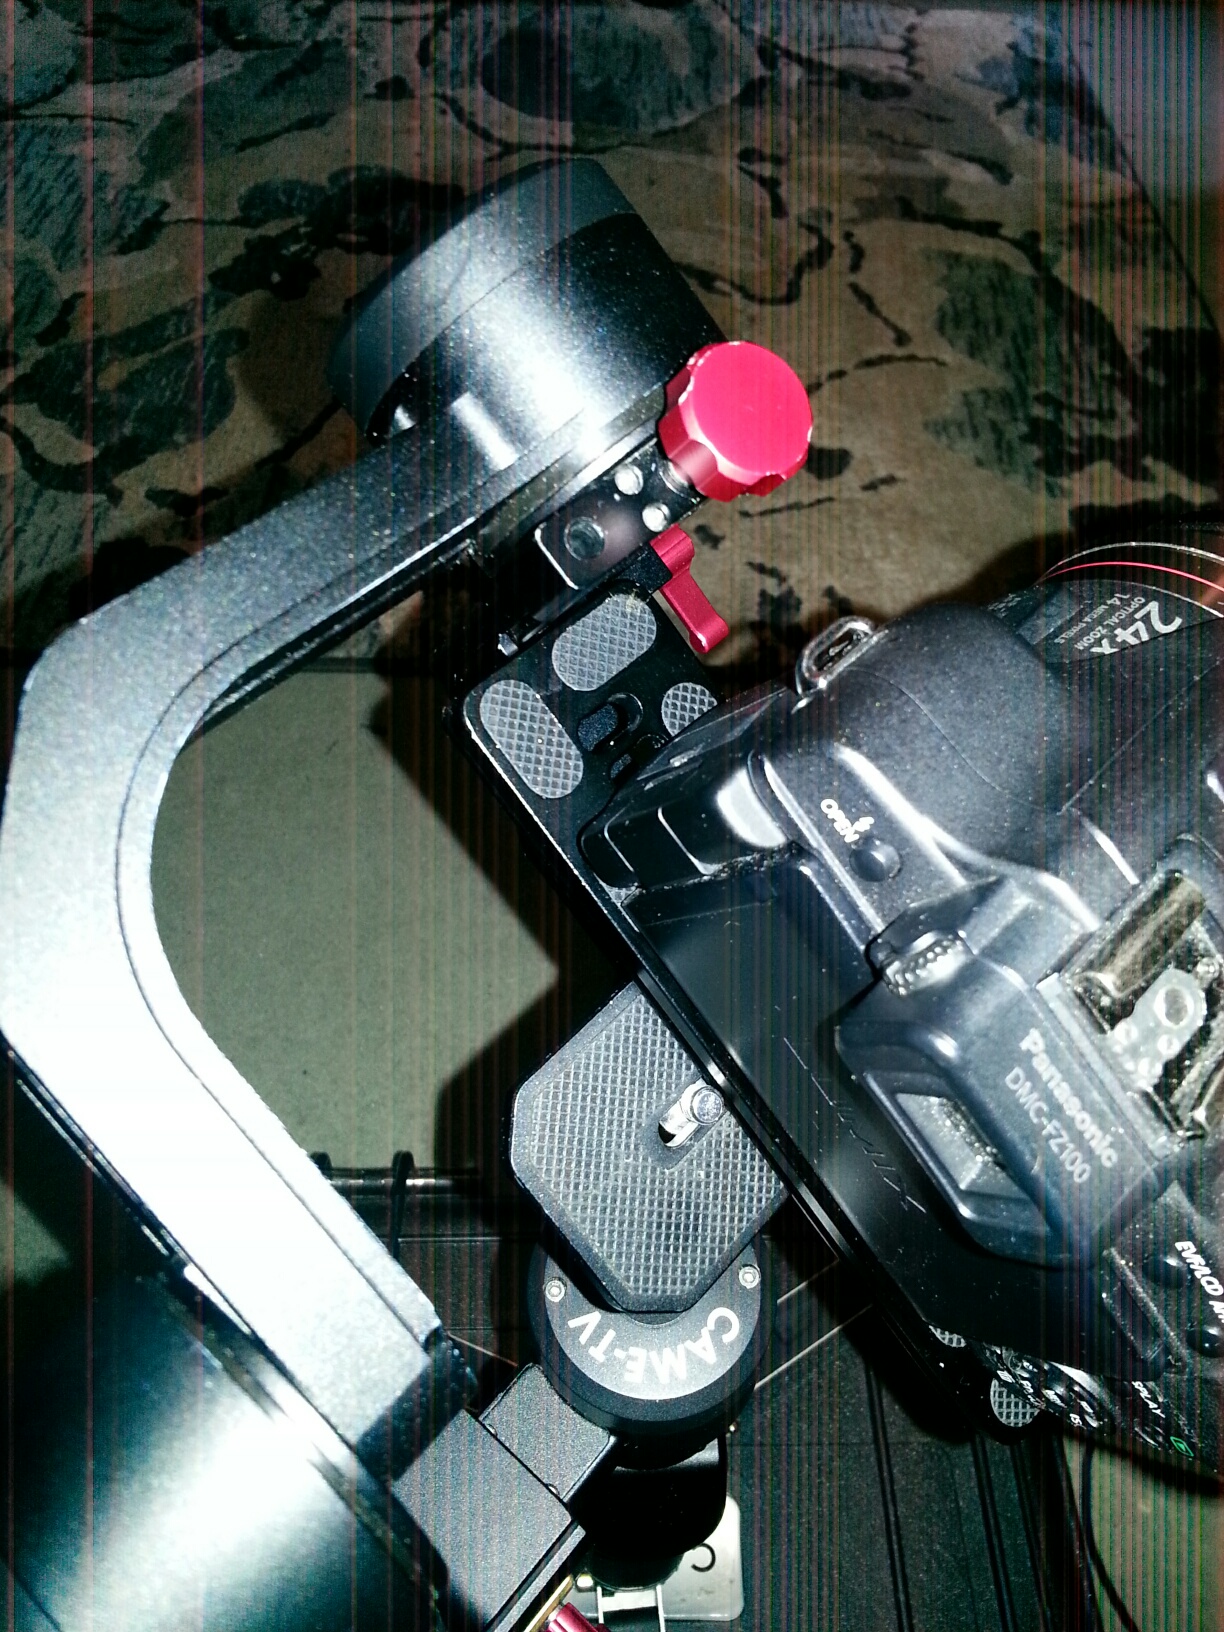
My camera has an off-center tripod mount and I can’t balance it on my gimbal
Most cameras are designed with its tripod mounting hole positioned perfectly center along the bottom/base of the camera body. However, there are a few cameras that have been designed with the mounting hole off-center, making it difficult to balance onto most gimbals. (See below)

However, one useful solution to this problem is to use a PU-150 Benro/Arca Swiss style QR plate as an extension adapter plate to add more flexibility to your balancing options.
Below you can see some samples provided by customer Ray Roscoe in using the extender plate along with his camera while balancing it onto the CAME-Optimus gimbal. (Click images to enlarge)
 .
. 
 .
. 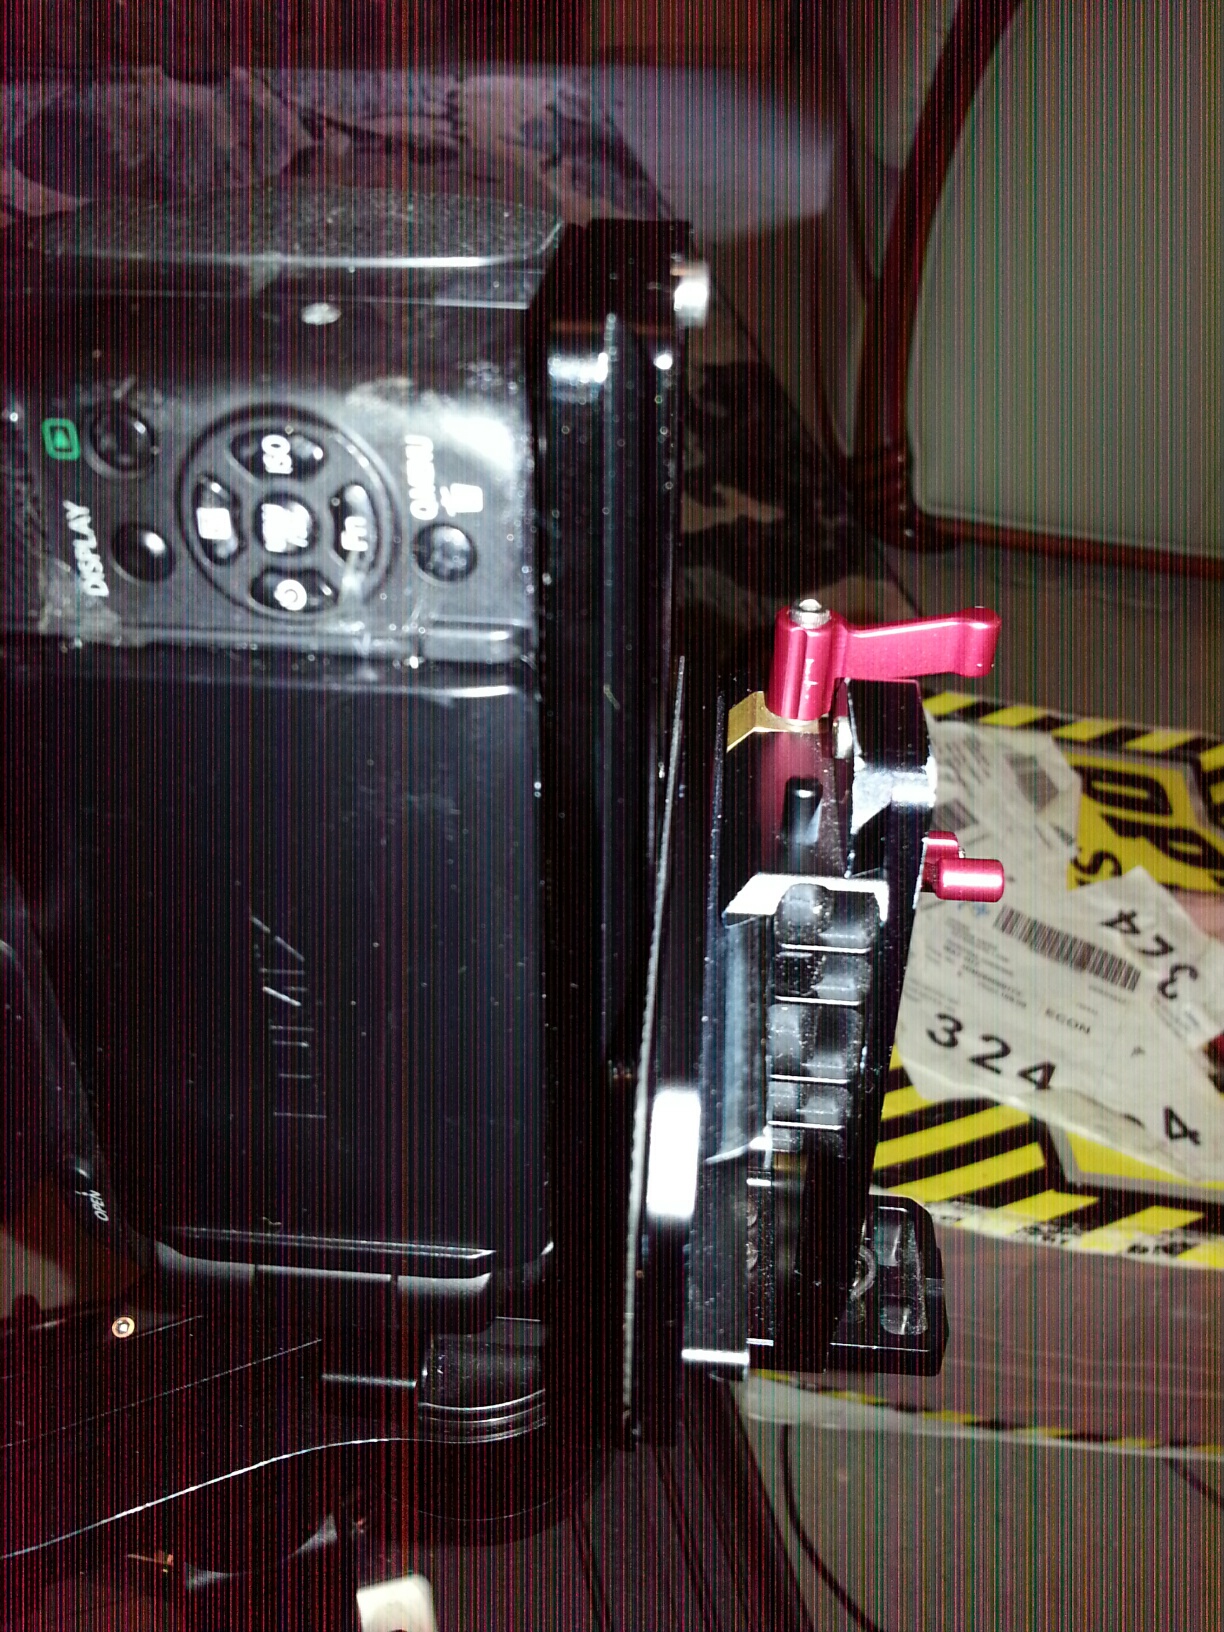
Notes from user Ray Roscoe:
1. Remove the center stop screw so the camera can slide just that bit further.
2. There are 2 small allen screw sin the plate, one needs to be removed tow enable the extension plate a little more movement.


How to control multiple CAME-TV Boltzen lights using the Boltzen LED mobile app
If you've purchased one or more of our hugely popular Boltzen LED series of lights, you can now control it with your mobile device. Using the brand new CAME-TV Boltzen WiFi Controller in tandem with our our Boltzen LED mobile app, you can now control numerous features on either one or multiple Boltzen lights at the same time. These features include turning the light on & off, dimmming, color temperature (for Bi-Color lights), and even timer operations. And you can do this all without an external WiFi network. See the video below for step-by-step instructions.
As shown in the video above, you will need to scan customized QR codes in order to connect to more than one light. We'd suggest either bookmarking this article (on your mobile device), or printing out several versions of the QR code sheet below so that you can always have access to them.
NOTES:
1. Download the Boltzen LED app for iOS devices here, and for Android Devices here.
2. Numerically label all of your Boltzen lights and WiFi dongles so you know which ones are to be paired together.
3. When starting, make sure ONLY light #1 is turned on and all other lights are powered off. You will successively turn on each additional light once you are ready to pair them. (Only after previous light has already been paired).
4. During the WiFi search process, if it does not connect successfully right away, click on the magnifying icon repeatedly until connection is successful.
5. If you have troubles connecting to the Boltzen dongle's WiFi, or with pairing with a device, try deleting the devices/WiFi network from within the app, and start the process again. You can even delete the Boltzen LED app and re-install so you can start from scratch.
6. Once you have the group setup via QR codes you should not have to scan them again. It's a one time setup process to pair the dongles, which is why we recommend that you label them. As long as the primary dongle has power, then the rest will sync after the one time QR scan.
7. If you are still having troubles connecting to the WiFi even after following all of the instructions above, re-attempt the process and press/hold the Pair WiFi button for about 5 seconds after the dongle insertion into the USB port (following 3 red light appearance). After releasing the Pair WiFi button, commence following the instructions as shown in the video.

Also available for purchase in our USA Warehouse.


What should I know before purchasing a used gimbal from a private seller?
If you're in the market for a used gimbal, particularly from a private, non-commercial seller (ex: eBay), there are several tips/precautions we advise before deciding to make the purchase.
1. Contact the seller and ask for detailed pictures of their actual gimbal, not a promotional photo. If there are any physical flaws on the gimbal (ex; scratches), it is best that you are made aware before making the purchase.
2. Ask the seller to provide you with a current video showing the gimbal's working status. It is common for users to make DIY modifications to the gimbal's physical state, or even alter the control board's programming (ex: to make joystick speeds faster). Ask the seller if they've ever modified the gimbal in any way, or if it is experiencing any functionality problems.
3. Secondhand/used purchases are NOT covered by our standard warranty.
4. If the used gimbal you are interested in is an older model and is no longer available on our website, then contact CAME-TV to make sure they still have parts available for that particular gimbal.


How to properly install the battery on your CAME-Optimus
We have been made aware of some reports by customers who have noted that the battery on the CAME-Optimus may be loose, causing the gimbal to shut down while in use. We have looked into this matter, and have simply determined that most customers are not inserting the battery onto the gimbal correctly. Though upon initially inserting the battery into its corresponding mount will present an audible snap/click indicating that it's been properly inserted, an additional step of pushing the battery upward is necessary in order to fully tighten it and lock it in.
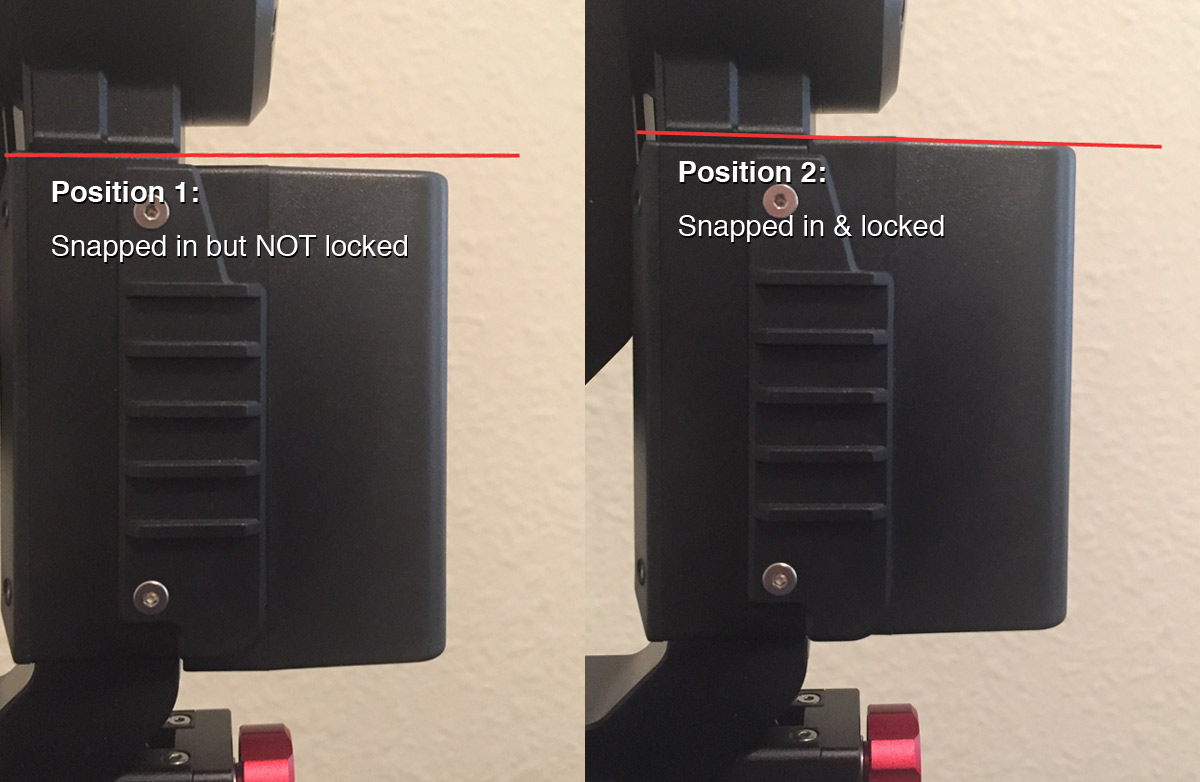
See how to properly install it by following the steps in the video below.


Are the power adapters for the 55w & 30w Boltzens the same?
Many customers who have purchased our line of 55w & 30w Boltzen lights have inquired whether or not the power adapters used for these lights are identical and/or interchangeable. The answer to both is NO. The 30w Boltzens use a 3.33A/40W power adapter, while the 55w Boltzens use a 5.0A/60W adapter.
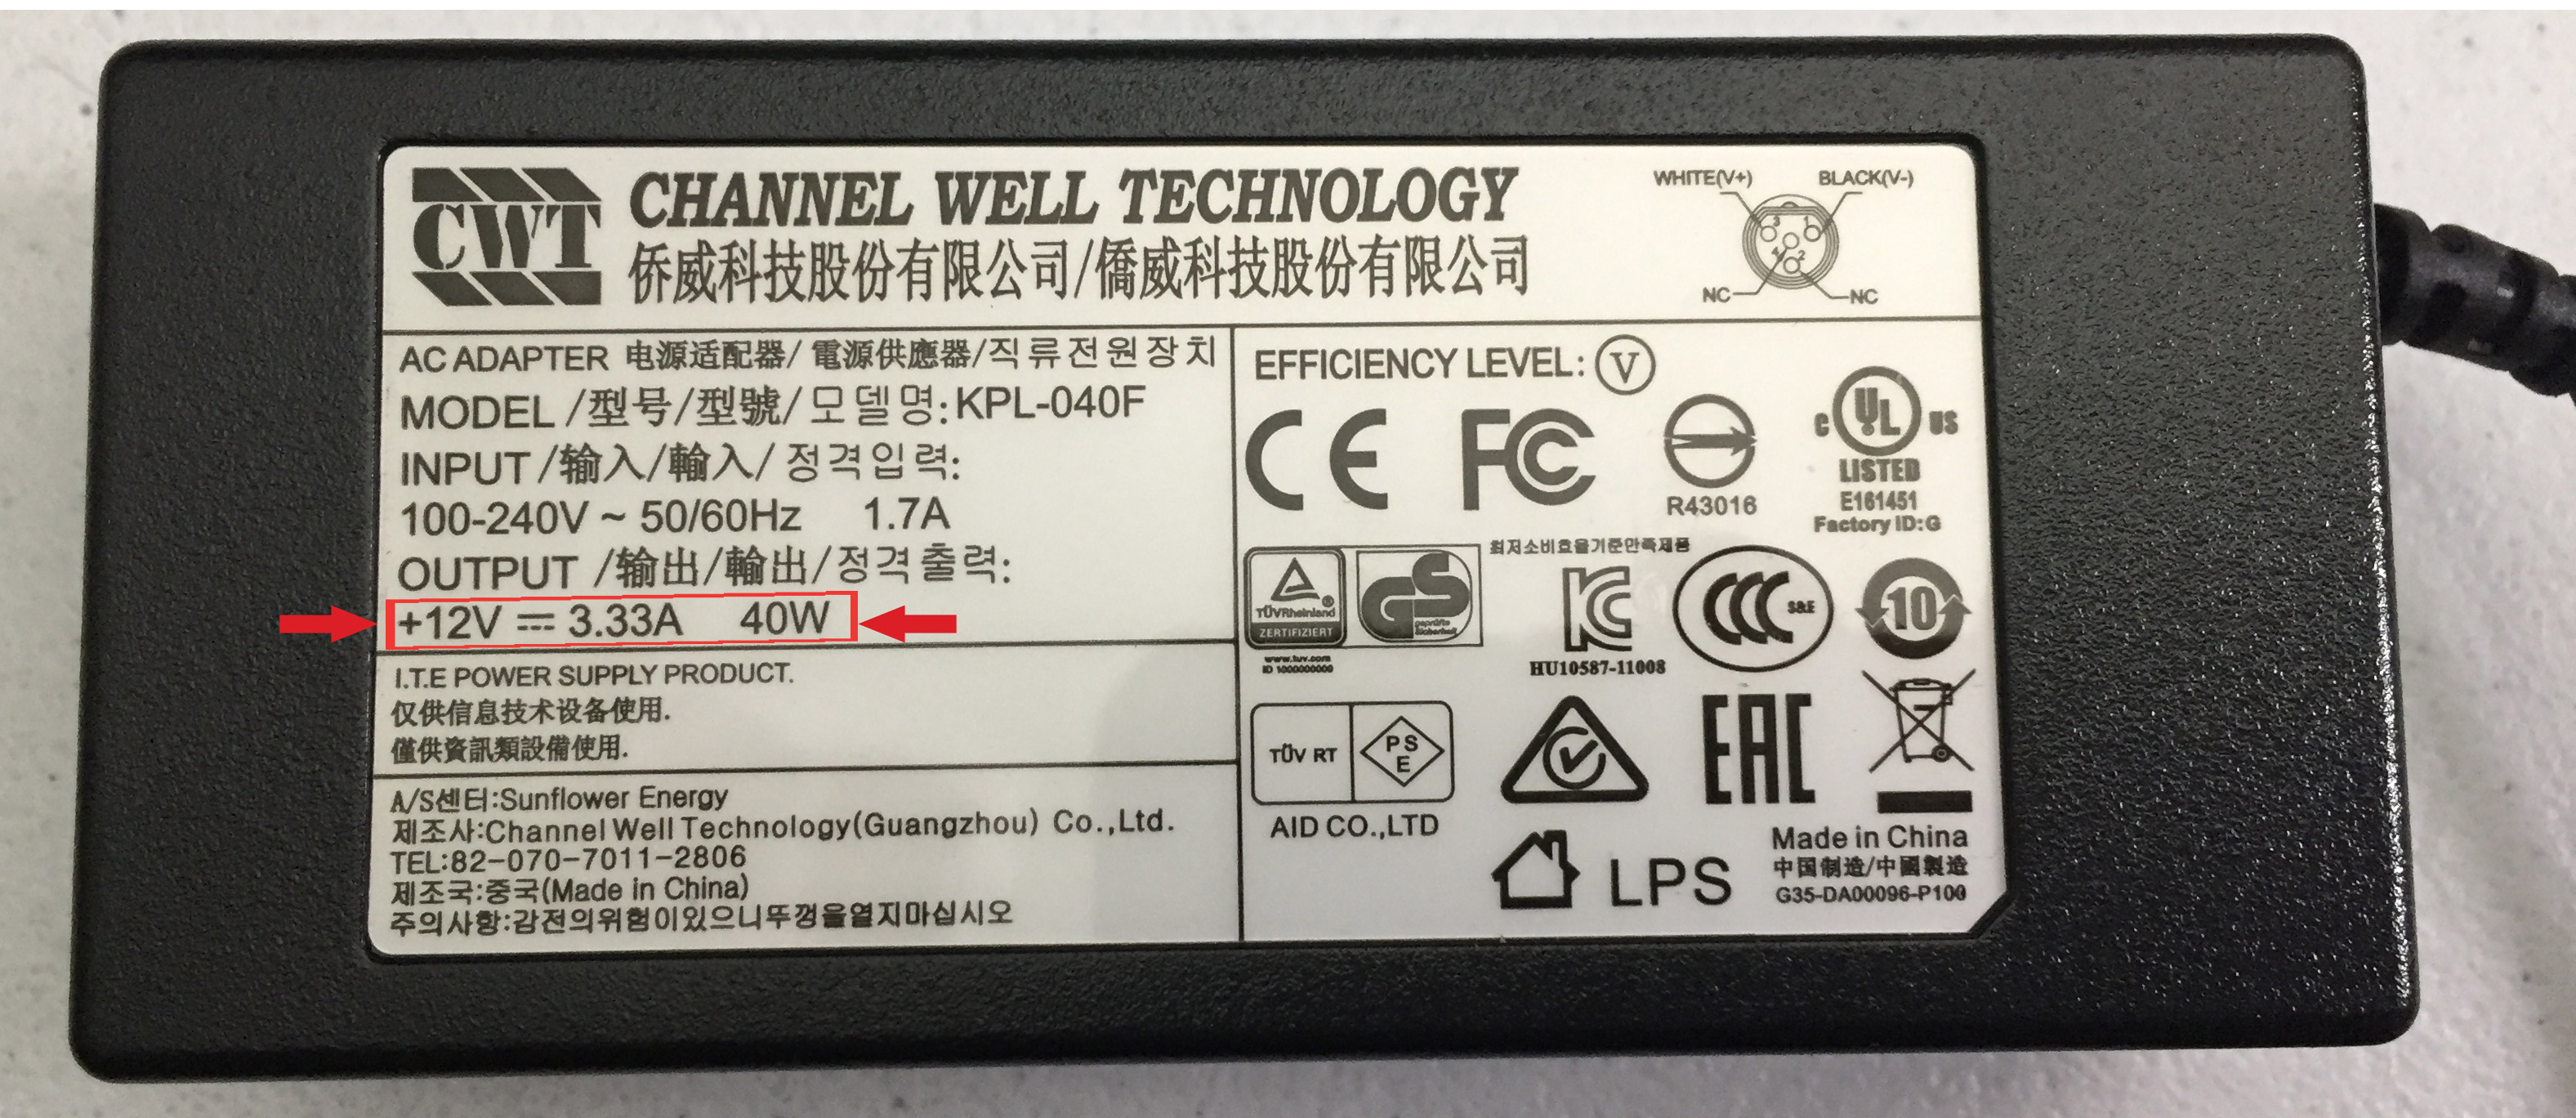
If you own both sets of lights, please check the sticker on the power brick to make sure that you are using the proper adapter.


Note regarding Boltzen lights when using Sony NP-F Batteries
Yes, you can power our Boltzen series of lights with standard Sony L-Series NP-F batteries. However, since these batteries generally max out at 7V, the light's running time will be limited. And in turn, the brighter you set the light, the faster the battery will drain. If a portable power option is needed, then our top suggestion would be using a V-mount battery for optimum power to the light through the built-in D-Tap port.
However, if you'd rather go the Sony NP-F battery route, then we'd suggest looking into getting a V-Mount Battery Converter Plate that is capable of holding 2 Sony batteries. This will essentially double the batteries' output, and thus increase the running time of your light. YouTube reviewer MrCheesycam provides more insight in the video below.
CAME-TV also carries NP-F960 batteries that hold 7.4V, which allow for a longer runtime. US based customers can purchase them here. If you're located outside the US, you can find them here.


!")
How to balance the CAME-Optimus
Thanks to trusted YouTube reviewer MrCheesycam for producing this video demonstrating how to balance our new CAME-Optimus gimbal.
Find more information on the CAME-Optimus here.


How to power up the CAME-Optimus
New owners of the CAME-Optimus who may have previously been familiar with it's top selling one-handed predecessor the CAME-Single may have noticed a small difference in how to power up their new device. With the Single, you would turn it on by holding down on the power button on the handle until it boots up. However, owners of the Optimus will come to learn that this is not the case with their new gimbal. To power up the Optimus, you simply need to do a 2-press sequence on the button that is found on the battery itself. Simply give it quick tap, and follow it up with a 2-3 second press & hold sequence until the gimbal turns on.
You can see both procedures performed below.

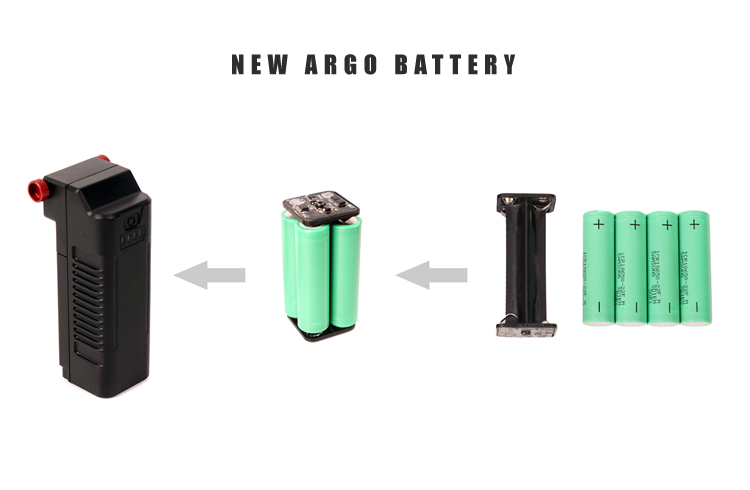
How to preserve your gimbal’s battery life
Owners of our CAME-Argo and Mini 3 might have noticed something different in each gimbal's battery configuration. We are now using a battery case that has 18650 LiPo batteries allowing you to remove them, charge them and immediately replace them with a backup set of fully charged 18650 LiPo batteries that you might have on standby. This allows you to keep cycling through numerous sets of batteries for an extended gimbal run time.
As with all LiPo batteries it is never good to over-discharge the battery. Over-discharge is when a battery cell voltage drops below the level of circuit protection limit. Once a LiPo battery is over-discharged, it is more than likely that it cannot be recharged and new one would have to be purchased.
We strongly recommend that when the gimbal is not in use or is in storage, to remove the 18650 LiPo batteries from the battery case. Failure to do so can result in over-discharge of the battery/batteries.
YouTube Reviewer MrCheesycam gives us a thorough breakdown of the updated battery packs in the video below:

How to save your gimbal’s profiles using the SimpleBGC software
We must first note that all CAME-TV gimbals are pre-programmed and quality-tested to function right out of the box. No additional software tuning or firmware upgrades should be necessary. However, if you would like to make minor tuning adjustments with the SimpleBGC software at your own accord- such as changing joystick speeds, decreasing motor power, etc. - we suggest that you first SAVE the gimbal's default, factory-programmed settings before making such changes.
Should something go wrong as you're making the changes, you can always revert back and load the original default profiles. And please note that the profiles that you save contain settings that are unique to your gimbal. Sharing these profiles with other gimbal owners is not advised and can make their gimbal inoperable.
And perhaps most importantly, under no circumstances do we advise upgrading your firmware. Doing so will wipe your settings and make your gimbal inoperable. The only way to potentially make it functional again would be to send it back to a CAME-TV support facility for repair (at your own cost if out of warranty).
[IMPORTANT NOTE:] Your saved Default Profile is configured to the default Firmware installed on your Gimbal. If you attempt to upgrade your firmware, the saved Default Profile will no longer be valid.


User Manuals for CAME-TV Gimbals
Printable instruction manuals for our most popular CAME-TV gimbals can be viewed and downloaded below:
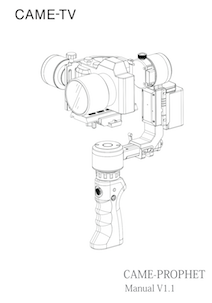 CAME-Prophet Manual |
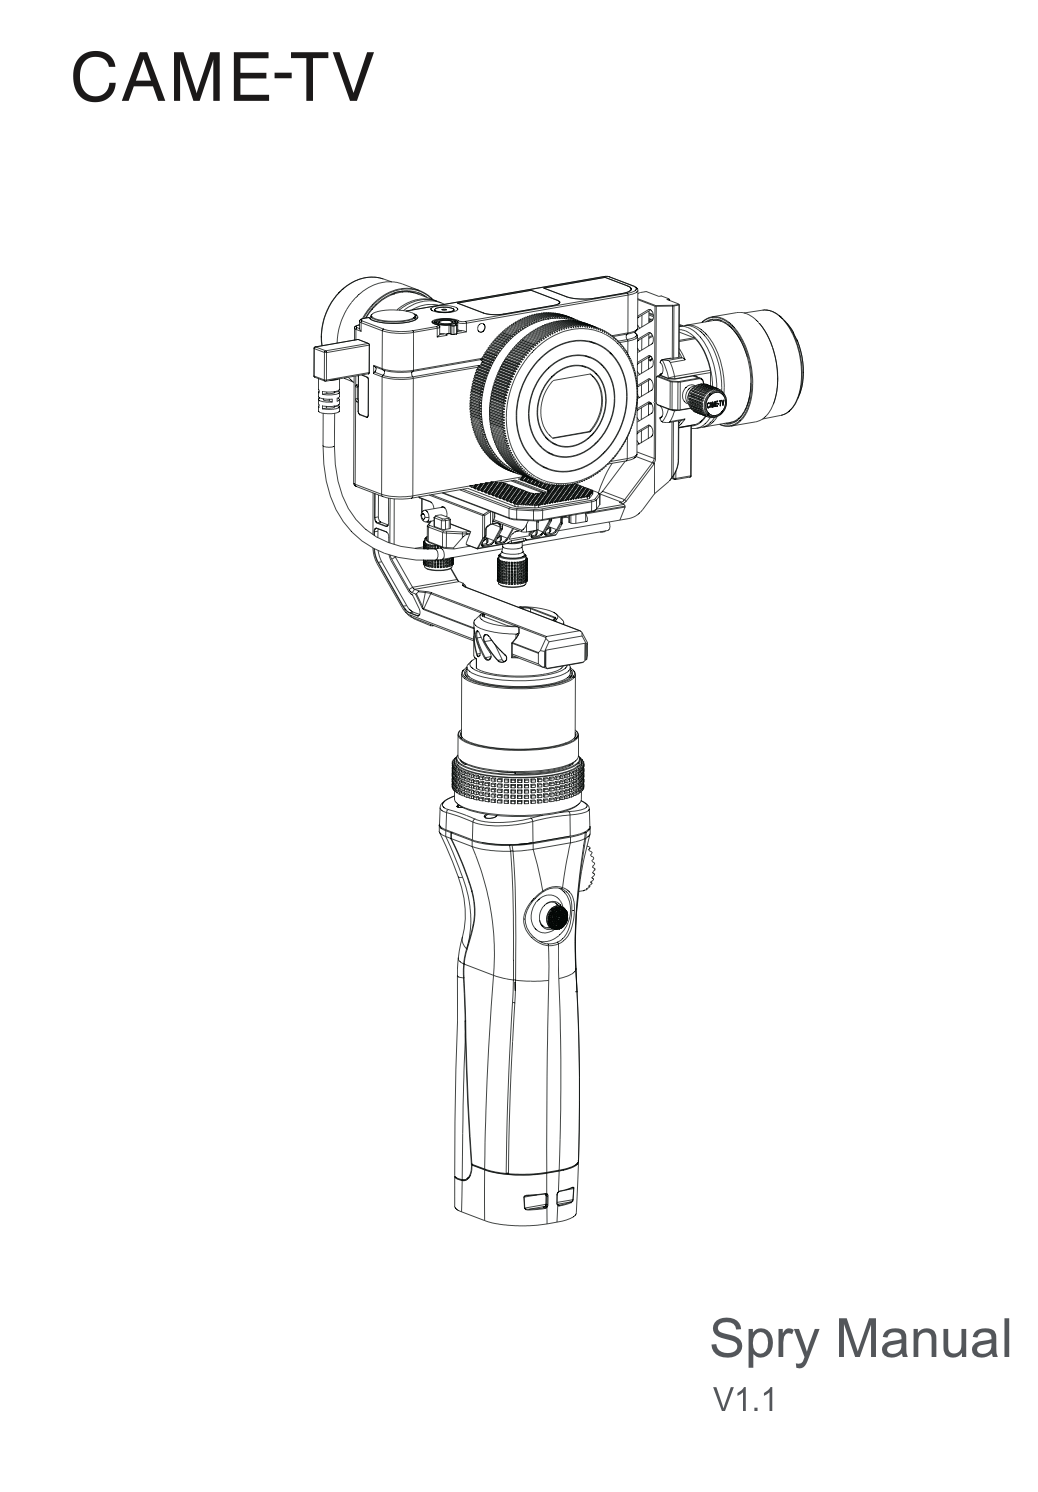 CAME-Spry Manual |
 CAME-Prodigy Manual |
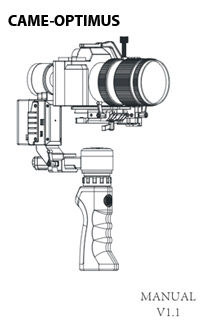 CAME-Optimus Manual |
 CAME-Argo Manual |
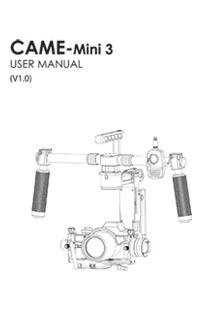 CAME-Mini 3 Manual |
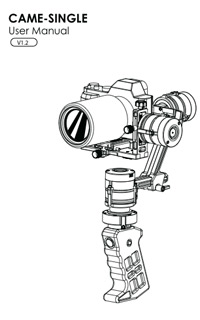 CAME-Single Manual |


How to assemble the dual handles for the CAME-Single
Due to popular demand, we have developed a dual handle mounting system that you can now use with your CAME-Single. If you have this new accessory, but are unfamiliar how to assemble it, you can watch the video for step-by-step instructions on how properly to put it together.


How to properly replace your CAME-Single battery
If you recently received a brand new CAME-Single battery to replace your old one, but are unsure of how to install it, feel free to watch the video below to help guide you through the process.
After installing your new battery, please know that a full charge can be achieved in 2-4 hours (depending on current battery life). To assure full functionality, we suggest staying close to your gimbal during the charging process so that it does not overcharge. Overnight and/or unsupervised charging is not advised.
If you own a CAME-Single and suspect that the original built-in battery may be giving you problems (power problems, overheating), you can notify our support department and they can assist you with the matter.
NOTE: If your CAME-Single's handle internal battery configuration contains an extra protective circuit board and differs from the one shown above, then please see this video for steps on how to replace. If you are unfamiliar with the soldering process that is required for this alternate installation process, we'd suggest bringing your Single & battery into a professional electronics/repair shop so they can do it for you.

What are the payloads for the 2 spring arm options for your Pro Steadicam system?
If you are interested in purchasing our 2.5-15 kg Load Pro Steadicam, you may have noticed that 2 different spring arms are available for purchase. The Strong Spring Arm (L4A) is designed to support heavier loads ranging from 6-15 kg (for camera + battery + other accessories). However, if you have a lighter camera setup, then you can opt to instead order the Light Spring Arm (L3A) option, which is capable of supporting 2.5-6kg loads.
Light arm payload: 2.5 - 6kg (5.5 - 13 lbs)
Heavy arm payload (default): 6 - 15kg (13.1 lbs - 33 lbs)

